Showing posts with label gluten-free. Show all posts

Wednesday, August 17

In the Kitchen: Spring Rolls

Ben and I love ordering spring rolls at our favorite Thai restaurant so I thought I would try to make them at home. This is a big step for me because I almost ruined the joy of eating pad thai after attempting to make it myself. I totally botched it up and have just recently started eating it while we are out again. Yep. It was that bad- pretty sure the mistake was due to my fish sauce misuse.

Anyways, these spring rolls turned out pretty well! They were light, refreshing and gluten free. You could also make them without the shrimp for those who have a shellfish allergy.

Here's the basic recipe although you can add whatever you like or happen to have laying around:


What you need:

Spring Roll Wrappers or Banh Trang
6 cooked shrimp, tail off and butterflied
2 cups of lettuce
1 cup shredded carrots
1 small red pepper, sliced
6 Thai basil leaves
Wasabi
Soy Sauce
Peanut Sauce
Hot water (not boiling)

The Plan:


Before making each roll, place one wrapper into a shallow bowl of hot water for approximately 30 seconds or until it is soft. Meanwhile, mix 1/4 cup soy sauce with wasabi to taste then toss lettuce in soy wasabi mixture. Lay wrapper flat on a cutting board then place lettuce, veggies, shrimp, and basil on the lower quarter of the wrapper. To wrap tightly roll from the bottom up. Once to the halfway point of the wrap, fold the side in and then continue rolling all they way up, sealing at the top. Serve with peanut sauce- we use San-J because it is gluten free and awesome!

Notes: I used the wasabi-soy mixture for the lettuce because Ben and I really like the kick of wasabi- but you could use a whole host of other dressings! Any suggestions?

I'd love to hear of any variations you all come up with! Enjoy!

Wednesday, September 8

DIY Unwich

My reusable veggie bags
 One of my favorite quick and gluten-free lunches of late is a turkey, hummus and veggie unwich. For those unfamiliar with the original unwich, it is a low-carb sandwich option at Jimmy Johns where they wrap your sandwich up like a burrito in lettuce instead of bread. Trust me, I'd love to have the bread but the gluten isn't worth it.

This is how I make my unwich before work:

What you'll need:
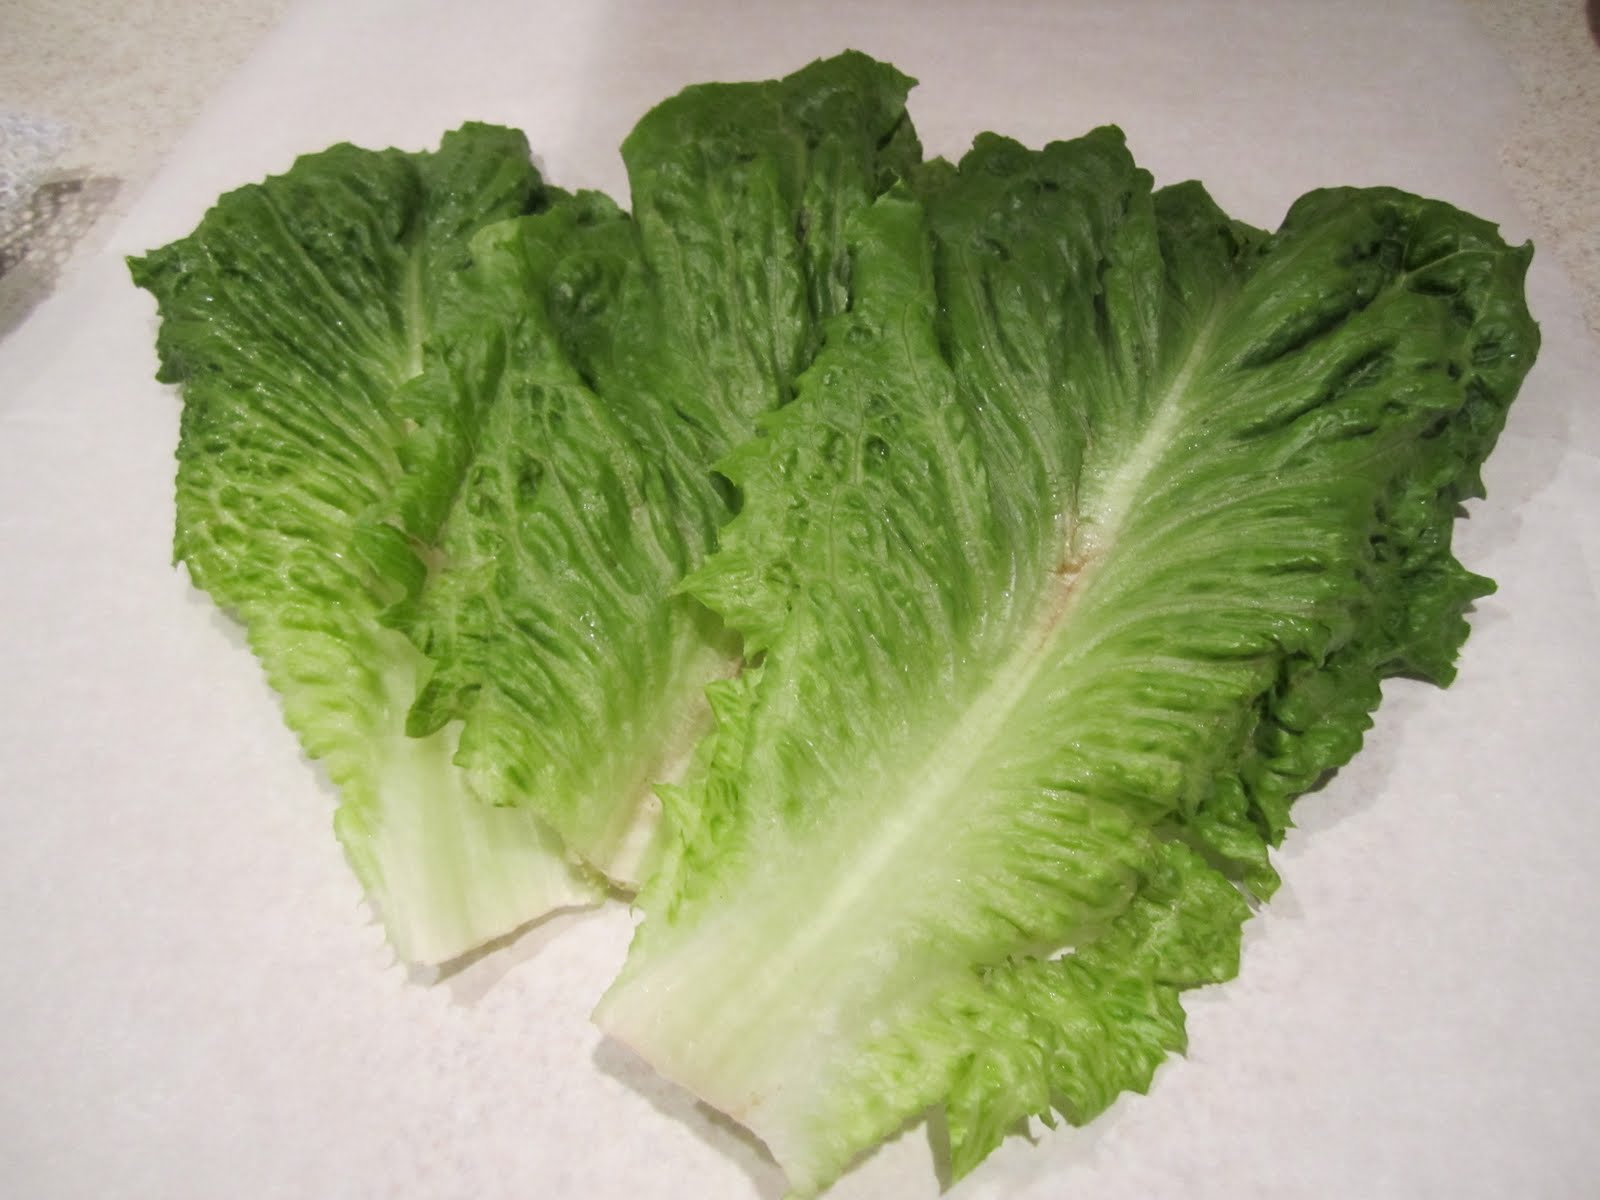
Romaine lettuce hearts (just a few leaves, 3-4)
Turkey or you choice of lunch meat (or no meat at all)
Shredded carrots
Black olives
Any other veggies you have laying around
Parchment paper
Romaine
Tape

A note on prep:
For a long time I was really flippant when people told me to clean and prepare your food as soon as you get home from the grocery store when you're putting groceries away. This is one instance however where washing your romaine, completely drying it, then stacking it into a reusable mesh bag really is worth alll the effort.

Assemble:
Lay a piece of parchment out and place your lettuce on top
Innards
Lettuce should lay half across the last piece just like a fan
Add your hummus
Then a layer of loose veggies
Finally, your lunch meat

Wrap: 
Roll your lettuce over the ingredients like you're making a burrito
Lay your wrap diagonally on the paper
Roll the paper starting from one corner to the other folding the edges in
Wrap tape around (make sure it overlaps on itself- tape generally doesn't stick to parchment)

EAT:
When you eat your unwich, tear the paper away one bite at a time. This wjll help keep everything together until the last bite!

Viola!
UPDATED: If you love this idea! Go ahead and Pin it! Here's an image you can use to track back!


Tuesday, September 7

Love a Pavlova


This past weekend I decided to try out a recipe I saw on one of my favorite blogs, Heart of Light. I am always on the lookout for a great gluten-free dessert and this is right up there with flourless chocolate cake for me! Truly divine.
Behold, Anna Pavlova

After making the Pavlova and taking the leftovers to work, I got a lot of questions regarding what Pavlova is. So, I did some looking around and it turns out it was named after Russian dancer, Anna Pavlova in the 1920's. The big debate is  whether or not it was originally a creation of New Zealand or Australia. Much of the (little) research I did, attributed it to NZ...sorry Aussies.

It's a pretty dramatic story considering it is basically just made from eggs and sugar.

To make my Pavlova, I followed Rachel's recipe here. I did not however, add the balsamic vinegar (B's request) and next time I make it I will probably put the meringue into a pastry bag and pipe them into little nests to better house the fruit. To make sure the Pavlova were completely done, I turned the oven off after they were crisp (around 10 am) and didn't open it again until we were ready to eat them (about 7 pm).

For the fruit topping I just thawed out a bag of Trader Joe's mixed berries, then added some sugar and lemon juice. We added a little extra kick by topping it off with alcohol infused raspberry whipped cream and it was pretty delicious. Note: said whipped cream did not accompany the leftovers to work. Sad, I know.
Related Posts Plugin for WordPress, Blogger...