Showing posts with label recipe. Show all posts

Wednesday, September 8

DIY Unwich

My reusable veggie bags
 One of my favorite quick and gluten-free lunches of late is a turkey, hummus and veggie unwich. For those unfamiliar with the original unwich, it is a low-carb sandwich option at Jimmy Johns where they wrap your sandwich up like a burrito in lettuce instead of bread. Trust me, I'd love to have the bread but the gluten isn't worth it.

This is how I make my unwich before work:

What you'll need:
Romaine lettuce hearts (just a few leaves, 3-4)
Turkey or you choice of lunch meat (or no meat at all)
Shredded carrots
Black olives
Any other veggies you have laying around
Parchment paper
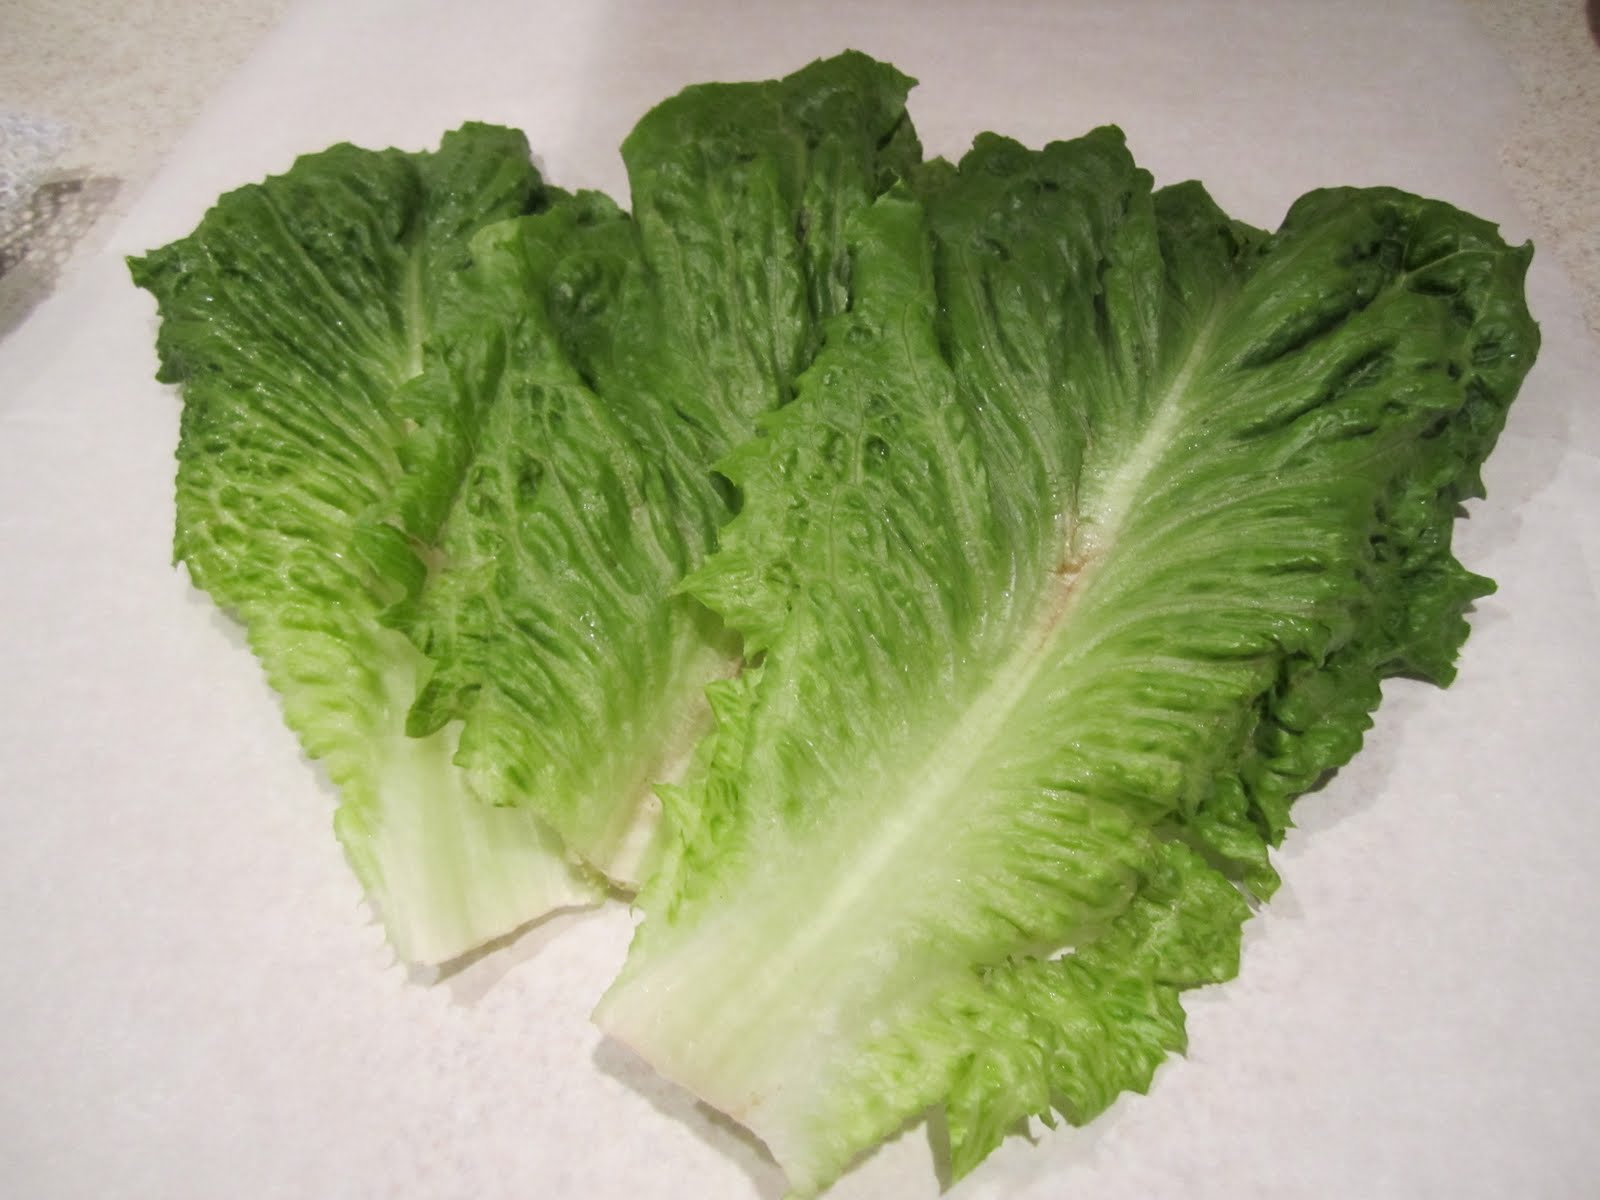
Romaine
Tape

A note on prep:
For a long time I was really flippant when people told me to clean and prepare your food as soon as you get home from the grocery store when you're putting groceries away. This is one instance however where washing your romaine, completely drying it, then stacking it into a reusable mesh bag really is worth alll the effort.

Assemble:
Lay a piece of parchment out and place your lettuce on top
Innards
Lettuce should lay half across the last piece just like a fan
Add your hummus
Then a layer of loose veggies
Finally, your lunch meat

Wrap: 
Roll your lettuce over the ingredients like you're making a burrito
Lay your wrap diagonally on the paper
Roll the paper starting from one corner to the other folding the edges in
Wrap tape around (make sure it overlaps on itself- tape generally doesn't stick to parchment)

EAT:
When you eat your unwich, tear the paper away one bite at a time. This wjll help keep everything together until the last bite!

Viola!
UPDATED: If you love this idea! Go ahead and Pin it! Here's an image you can use to track back!


Thursday, April 8

The Big Top Experiment


Christmas 2009 was the beginning of a new tradition on the Fernandez side of the family-- the "As Seen On TV" gift exchange which I blogged about last December. One of the gifts up for grabs was the "Big-Top Cupcake" and to much dismay, neither my sister nor I ended up with it by the end of the night. Luckily, we have a really awesome Abuela who decided to give it to us a few weeks ago because, yes, we were still talking about it.

Last night, Em and I gave it a go using a Better Crocker Devil's Food Cake mix, 3 eggs, half a cup of veggie oil, a cup and a half of water, and the best thing to add to a cake mix that never makes it on the box directions-- pudding mix.

{ingredients}
 
  {all mixed up}

 {and into the mold}
 
 
From there we waited for the oven to preheat to 350 degrees then popped it in. It  took about an hour to cook all the way through because the molds are so deep. There is one design flaw; because the topper mold is cooked upside down, it bubbles up and makes it difficult to ultimately place it evenly onto the bottom piece. 
 
We decided to go with white fluffy icing and sprinkles after we let the cake cool.

{icing the cupcake}

 
{sprinkle closeup}

I'm not sure if it was because of the four month build-up or the fact that most As Seen on TV items really are too good to be true most of the time. But overall, I was underwhelmed. The best part about it was the taste and that can happen no matter what shape cake is in. The mold itself was also a lot smaller than expected. I think it should probably be called The Medium-Top Cupcake because it doesn't really look as grand as you would think. All in all it was a pretty mediocre shape with a wonderful taste. The good news is, there are no winners or losers in cake because in the end you still get to eat it!

Monday, March 8

Soft-boiled Eggs: A tutorial

Every college graduate has a food that got them through their schooling. For some it was Ramen, others peanut butter or frozen veggies but for me it was eggs. Cheap and packaged by the dozen, eggs are one of the few fresh foods you can afford to buy in college and they come in bulk. The other great thing about eggs is the many ways in which you can prepare them, making it easier to palate them 7 days in a row.

I will spare you all on just how many ways I've ever cooked an egg and just focus on my favorite way to prepare and eat them. I am a huge fan of the soft boiled egg and the process in which it is eaten, although I quickly found that not many people knew about them. When I was in college, my roommates would literally sit around and watch me eat. No joke, they were seriously amused by the fact that I ate my soft boiled egg out of a little cup.

So here's my method of preparation:

What you'll need:
1-2 eggs at a time is best
1-2 cups water
One small-medium sized pot
A slotted spoon
A timer
Egg cups (1 per egg)
salt and pepper to taste

The Plan:
  1. Bring your water to a rolling boil.
  2. Place your egg into the water with the slotted spoon (One at a time prevents them from colliding due to the unpredictable boiling water!). 
  3. Set your timer for 6 minutes.
  4. At 6 minutes, use the slotted spoon to retrieve your egg.
  5. Lightly dry off the egg with a towel.
  6. Place egg into egg cup, narrow side up.
  7. Let the egg cool for 5 minutes. 
How to eat:

  1. Using a small spoon, tap the top of the egg about one half inch down from the peak. 
  2. Tap until you have cracked the egg around the entire top creating a cap. 
  3. Peel the cap off.
  4. Now you should have a relatively runny yolk surrounded by a solid egg white.
  5. Season to taste and use a small spoon to scrape out and eat the egg or dip strips of toast into the yolk for a tasty treat!


 One last thing: NOTHING, I mean nothing beats the taste and quality of farm fresh eggs. These are a few eggs from the O'Brian farm that I absolutely can't wait to try! Kudos to Haley O'Brian Photography for some of the prettiest eggs and chickens I've ever seen!
Related Posts Plugin for WordPress, Blogger...