Showing posts with label diy. Show all posts

Monday, September 19

Monday sneak peek


I'm so excited to share with you all a sneak peek of this past weekend's home project! Unfortunately, the combination  of this project, a 16 hour anticipated work day today, and many fun-filled events throughout the past weekend have worn me out and I'm afraid I have a bit of a cold. So- I'm taking a mini-sick day and will be sure to have the full fledged new kitchen paint post up for Wednesday!

Happy Monday everyone! Hope you all have a great start to your week.

Monday, August 8

An Up-cycled & DIY Shoe Solution

For the last couple months I have been battling a sea of shoes at the bottom of my closet. To solve my problem, I started perusing  the various online outlets for some type of organizational shelving unit but couldn't find anything I was willing to pay for. Then, I had an idea to construct something from household items.

To make this organizer I used a few planks of old barn wood that I gave a quick couple coats of paint and some old-school blue Ball jars from my mother-in-law. I have always loved the blue jars but have always preferred using them as decoration rather than food storage. Turns out, they were also the perfect height to store my shoes!

I really love the versatility of these shelves because I was able to leave a landing of sorts on the first shelf, where I will keep my boots once crisper weather returns. I also had enough wood to wrap the first shelf around the side of my closet for even more storage space.


This was a super easy and 100% free project! If you want to make one of your own and don't have jars like this- get creative! Maybe use a couple stacks of magazines that you haven't been able to part with but are taking up space or even those wine bottles you've saved from a special occasion that just sit around and collect dust otherwise. The possibilities are endless!

Monday, July 18

DIY: Embrace your otherness


The idea for this project came from an NPR story I was listening to earlier this month. Two women who had been together, living in New York, for 40 years were explaining why they would not be jumping onboard and getting married because of the new state law permitting same-sex marriage. During their interview one of them said that they had "embraced their otherness". That phrase really struck me and I knew I had to work it into one of my projects.

This painting was on it's way to Goodwill after a garage sale but when I saw it I really loved the frame. Because I didn't want to deal with new backing, I decided to experiment with just painting over the canvas that was already there. To do this, I just used some leftover primer we had in our paint collection. 
It took two layers to cover the original painting. From there I started in with the stencils. I used larger 5 inch stencils because of the scale of the canvas and it just fit. 
I'm really happy with how this turned out and I love the reminder to embrace what makes me unique! I also think it's an appropriate saying for an up-cycled project. That's the beauty of up-cycling. You find the other uses for something you might normally throw out. 

Hopefully, you feel like embracing your one-of-a-kind otherness too!

Wednesday, July 6

Fourth of July recap + a DIY!


A belated "Happy Independence Day!" to you all!

Its good to be back from a couple days spent away from the computer but I'd be lying if I said I did not also enjoy some quite time at home with Ben and the pup. We started off big the Saturday before the fourth by going to the Indianapolis Zoo but little by little we snuck away and just enjoyed being in our little corner of the world.

I also finally finished up a DIY project I had hoped to put up before this weekend but better later than never! And because America is always in style (especially in the summer, right?) I'm keeping this one up for a little while longer.

To make my Fourth of July door decor I took a few particularly American swatches of fabric and sewed them together, making two sets of the red/stars and stripes combo.


I then sprayed the sewn fabric with fabric stiffener so that it would hold a fold nicely. After the fabric dried (you can microwave smaller pieces for quicker results!) I took each half and made 1 inch accordion folds.


I tacked the inner ends of each piece together with a needle and thread and then fan both pieces out to make half circles. Pin the sides together then sew the finishing seams once you have lined your stripes up. From there I just sewed on a bow and hook to hang it with and I was done!


And there you have it! How did everyone enjoy their Fourth of July?

Wednesday, April 20

DIY: A brighter entryway on a budget


I'm still trying to keep my New Year's resolution up by shopping around my house, before purchasing something new to spruce things up. Recently, I decided to give our entryway chest a bit of a makeover, and I have to say- it really brightens up the room!

I can't say I didn't have to buy a few things to get this accomplished but an orbital sander, paint, and some hardware still brings the total in at under $75, much less expensive than buying a brand new entryway table. The chest itself was actually purchased second-hand, right off of our former neighbor's porch for $30 so the project as a whole is a real steal.

Here's the DIY process in photos:

The chest before.
Sanding away the painted finish.
After the first coat of paint.

Putting the doors, drawers, & new hardware on.
The finished product!


A few suggestions for trying this project out:

Make sure you take all the doors and drawers off of the piece you are refinishing. We kept the hardware for each individual part of the chest in separate little bags until we were ready to reattach everything.

When sanding, be sure to wipe down each area with a damp towel to remove excess saw dust before painting.

I used paint that already had a primer in it. It costs a bit more, but you use less so it evens out in the long run. I only applied two coats of paint for this project and used about 2/3 of a quart. 

Get creative. I originally pictured painting the chest red, but I've seen so many red accent pieces lately, so I tried to push myself to find another color. I also switched out all the hardware with these pretty crystal knobs.

In the end, I'm very pleased with how this turned out. It definitely adds a fresh pop to our home for Spring, was budget friendly, and provides a fun pallet for seasonal accessories!

Monday, April 18

In the Garden: My very easy garden markers


I'll start things off by saying this- don't expect anything fancy. I would really love to splurge on fabulous metal garden markers but these are just so easy to make and come at a great price!

All it takes is a couple popsicle sticks. I buy them bagged from the craft dept. but if you need a good excuse to eat a box of bomb pops now that the weather is warmer- here's your chance.

I put markers at both ends of the row which not only helps me know what the plants are, but where they are before they start sprouting.

From there I just take a sharpie and mark them up. I really do like the homemade and organic look of them. One of the best parts about this is that when you are done, you can chuck them in your compost bin and a couple years later they'll be back in your garden as an organic soil compliment.

Monday, March 7

DIY St. Patty's Day Wreath


Since green  is such a big part of St. Patty's Day I decided to come up with a project that is green in both concept and color. Making this wreath was an easy NO-cost project using only items that I had around the house. For this project I up-cycled a cardboard box, a hand-me-down top, and a few ribbons I had laying around.

I started with an empty cardboard box.

Using a large dinner plate for the outside and a salad plate for the inside, I cut out three rings.

I then cut out 24 1.5 X 1.5 inch squares with the rest of the cardboard.

 On the bottom ring I glue-gunned the squares 3 pieces high at the 12,3,6 & 9 'o'clock positions, then glued the second ring on top and repeated the process.

Behold, the wreath frame.

 From there, I took the hand-me-down shirt that didn't quite fit but I LOVED the color. It had a lot of material to use so I used my fabric shears and cut it down to large usable pieces. 

And then gathered the edges around the frame, securing with a staple gun.

From there, the possibilities were pretty endless when it came to what I wanted to place on the wreath. 

My first inclination was to take the remaining material, braid it, and sew it into a small brooch-like attachment. I added a little glitter spritz to it and this is how it turned out:


While I liked that option, I wanted something a little more simple and rustic looking. Our door is also pretty tall so I wanted something that broke up the length and was noticeable from the street. So, I found a bunch of green ribbon in my craft closet and simply tied it around the form. Easy, right?
Viola!
The wreath form was such a simple thing to put together and for the price, I think I'll be using it for as many holidays as possible!

Wednesday, September 8

DIY Unwich

My reusable veggie bags
 One of my favorite quick and gluten-free lunches of late is a turkey, hummus and veggie unwich. For those unfamiliar with the original unwich, it is a low-carb sandwich option at Jimmy Johns where they wrap your sandwich up like a burrito in lettuce instead of bread. Trust me, I'd love to have the bread but the gluten isn't worth it.

This is how I make my unwich before work:

What you'll need:
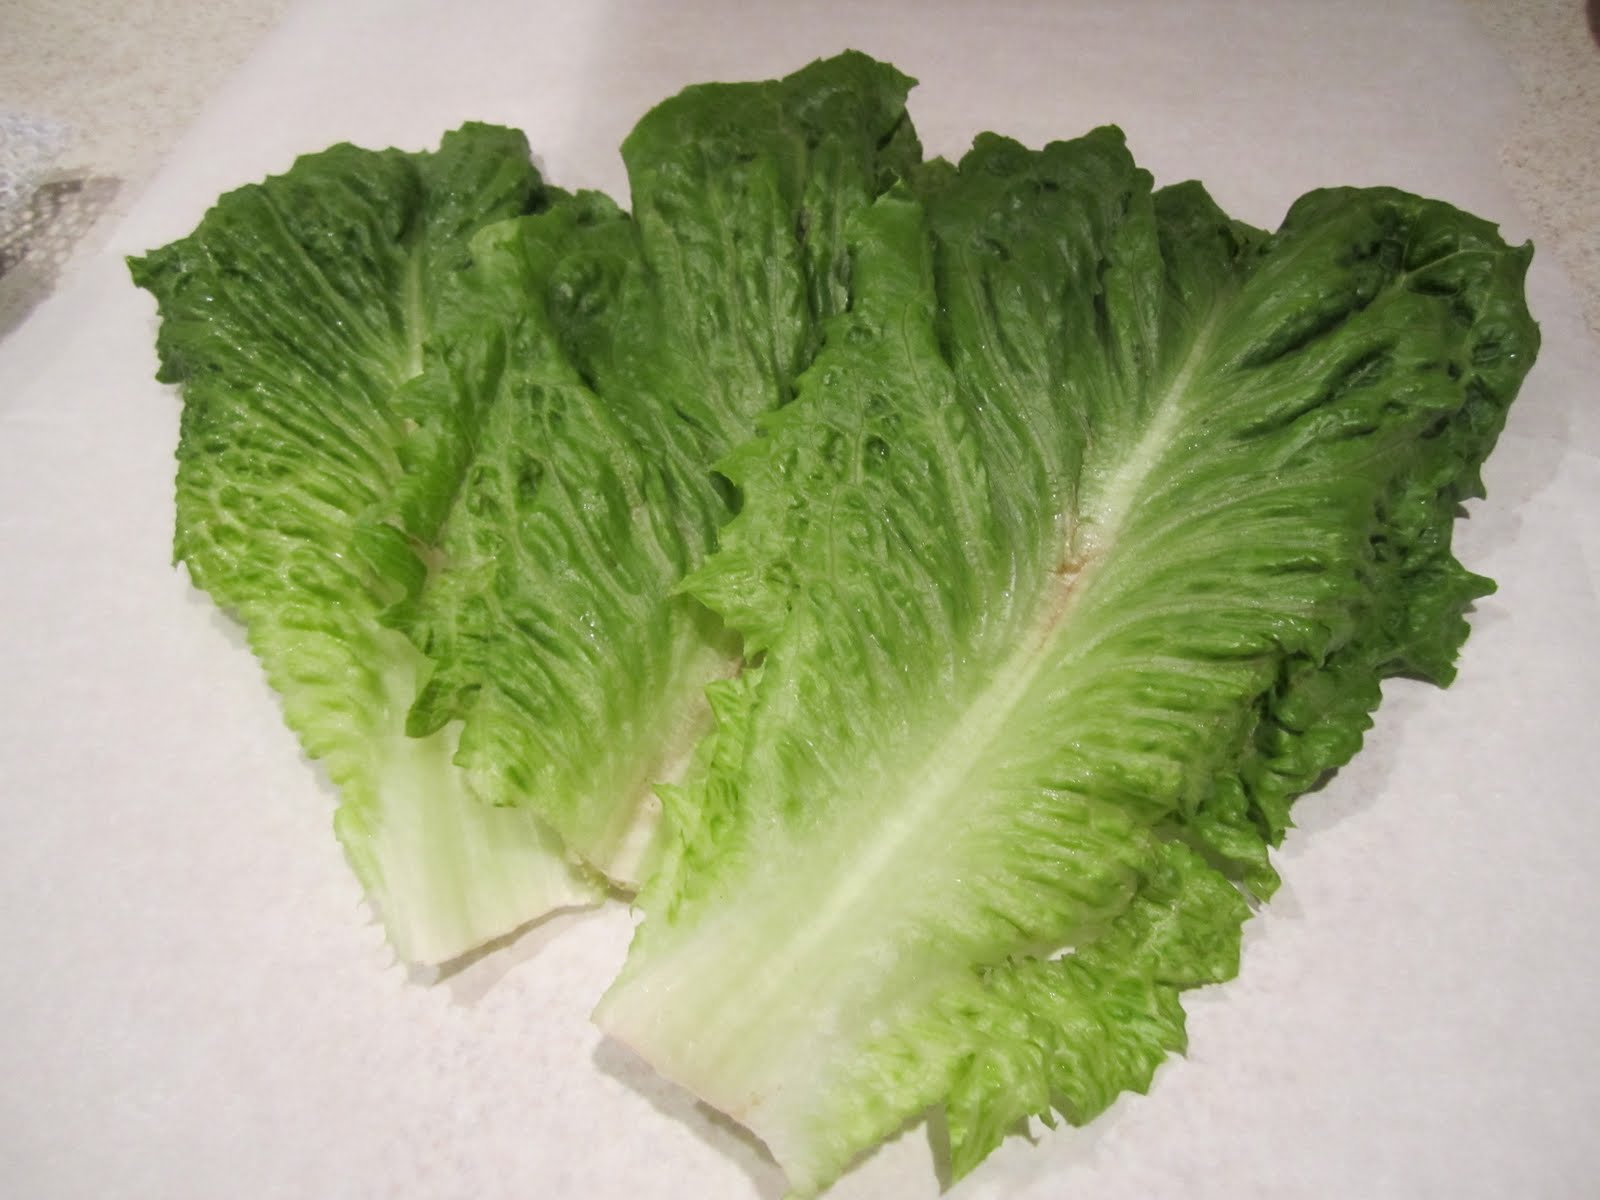
Romaine lettuce hearts (just a few leaves, 3-4)
Turkey or you choice of lunch meat (or no meat at all)
Shredded carrots
Black olives
Any other veggies you have laying around
Parchment paper
Romaine
Tape

A note on prep:
For a long time I was really flippant when people told me to clean and prepare your food as soon as you get home from the grocery store when you're putting groceries away. This is one instance however where washing your romaine, completely drying it, then stacking it into a reusable mesh bag really is worth alll the effort.

Assemble:
Lay a piece of parchment out and place your lettuce on top
Innards
Lettuce should lay half across the last piece just like a fan
Add your hummus
Then a layer of loose veggies
Finally, your lunch meat

Wrap: 
Roll your lettuce over the ingredients like you're making a burrito
Lay your wrap diagonally on the paper
Roll the paper starting from one corner to the other folding the edges in
Wrap tape around (make sure it overlaps on itself- tape generally doesn't stick to parchment)

EAT:
When you eat your unwich, tear the paper away one bite at a time. This wjll help keep everything together until the last bite!

Viola!
UPDATED: If you love this idea! Go ahead and Pin it! Here's an image you can use to track back!


Monday, August 23

Sneak Peak: Wedding Ring Pillow

Well, I am momentarily back in the midst of wedding craziness- 54 days to go! This post will probably be among the very few posts this summer due to the complete madness of late.

This is one of many of my DIY projects that has kept me busy. I just couldn't find a ring pillow that I liked, so I decided to enlist the help of my sewing machine and some Vera Bradley cloth napkins that match B's tie (don't worry, the print on the tie is much smaller).

I decided to keep it organic looking by adding two wooden buttons, tuft-style, on the top and bottom and some ribbon that I'm using throughout the decor.


So, here it is! A sneak peak into wedding craziness!

Thursday, May 20

Getting Crafty: Bachelorette Style

First, let me say this. The normal bachelorette garb is a bit out of my comfort level and personally, I find it pushing the line of being slightly tacky. That being said, I really don't want to be a prude, that's not the problem, I just think there are more creative ways to get your point across.

For this party I wanted to incorporate some sassy and typical bachelorette details, how much we adore our friend Sayj and the love she has with her fiance, Mitch, and lots of color. I wanted everyone to be as care-free as possible so I tried to create an inviting and interactive party theme.

Here are some of the DIY projects I worked on!

Pom-pom garland:

These are really simple and make me feel like I am in third grade celebrating Cinco de Mayo all over again (that's what we did at my elementary school anyways).

Essentials:
Tissue paper
Scissors
Floral wire
Ribbon

The plan:
1. Stack up about 8-10 pieces of tissue paper.
2. Accordion fold the stack into 1/2 inch segments for smaller poms 1 inch segments for larger ones.
3. Tightly wrap a piece of floral wire around the middle of the folded paper.
4. Piece by piece pull the tissue paper apart so each piece stands alone.
5. Once you have pulled each paper apart, fluff it up to make a round-ish shape.
6. To make a garland, simply tie each pom to one long ribbon at the center of the pom about 12 inches apart.


Favor bags:

What is a party without favors? I wanted to make something for each of the ladies where even the bag containing the favors could be something useful. I had some extra material laying around that I really loved so I went to work making small draw-string pouches. I figured that this tutorial from my friend, Martha, (psh I wish) would be easier than me trying to explain this so here you go!

This is what I put in each bag:
Bachelorette Truth-or-Dare scratch-off tickets
A penny to scratch with
Some lemon and pomegranate hard candies
A few packs of Swedish Fish
A fun colored sleep mask


Origami Fortune Teller Place-cards:

These were a huge hit! I placed a fortune teller at each place setting with their place-card nestled inside. I used regular ol' scrapbook paper (that was on clearance, cha-ching) and got to folding. I am proud to say that I can now fold one of these bad boys in under 30 seconds. Impressed? Yup. (Here's another tutorial on folding.)

On the four outer parts I put the words, "Sayj is getting married". Then I numbered the 8 folds on the inside. Underneath each number there was a fun and racy fact such as "The average person spends about 2 weeks straight kissing in their lifetime".  (FACT: That is one of the least raciest of them all.) I managed to have a completely different fact for each fortune teller.


Mustache(s) on a stick:

Yeah, that's me. Minus makeup and/or hair product, plus some facial hair via kabob stick. These were so very easy and I was able to use up some of the kabob sticks we bought in bulk last summer. To make each 'stache I used this template (thanks again Martha, we should be bffs), some brown foam paper, kabob sticks, and a glue gun.

To display, I put a few leftover poms from my garland project into a tall glass vase and stuck them all into the tissue paper. Like so:

A word to the wise, if you are going to take on 2 or more craft projects, don't do it all in one week. Between this and a number of wedding projects I've been working on, it took a lot of energy. Though, I must say it was totally worth it as soon as I saw how much my wonderful friends appreciated it and how much fun we all had.

One last note: Thanks, as always, to Haley at Haley O'Brian Photography for the sweet photos- even if you did catch me by surprise by making me model my own mustaches!

Friday, March 12

DIY To-Do

I have been dying to try out this make-it-yourself lamp idea that has been floating around the blogosphere for the past week or so. I just think it would be perfect for our new guest room and looks like a really fun craft to try. I also love the thrifty nature from which this craft came about. By making it yourself you are literally saving hundreds of dollars and end up with a generally pretty close product. Check out PICKLES for the full tutorial!

 {pretty close, huh?}

{just a few materials}

 {and a close-up.}
Related Posts Plugin for WordPress, Blogger...